Mappers Requirements from Client
Setting Up Azure for Single Sign-On (SSO)
Follow these steps to configure Azure for Single Sign-On (SSO) and integrate it with your platform:
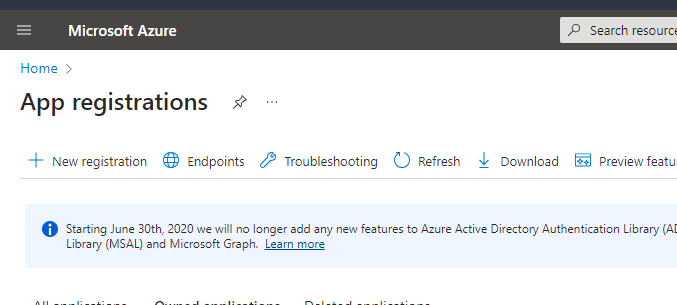
Access Azure Portal and Open App Registrations:
- Log in to the Azure Portal and navigate to the "App registrations" service.

- Log in to the Azure Portal and navigate to the "App registrations" service.
Create a New Registration:
- Click on "New Registration" to create a new app registration.
- Click on "New Registration" to create a new app registration.
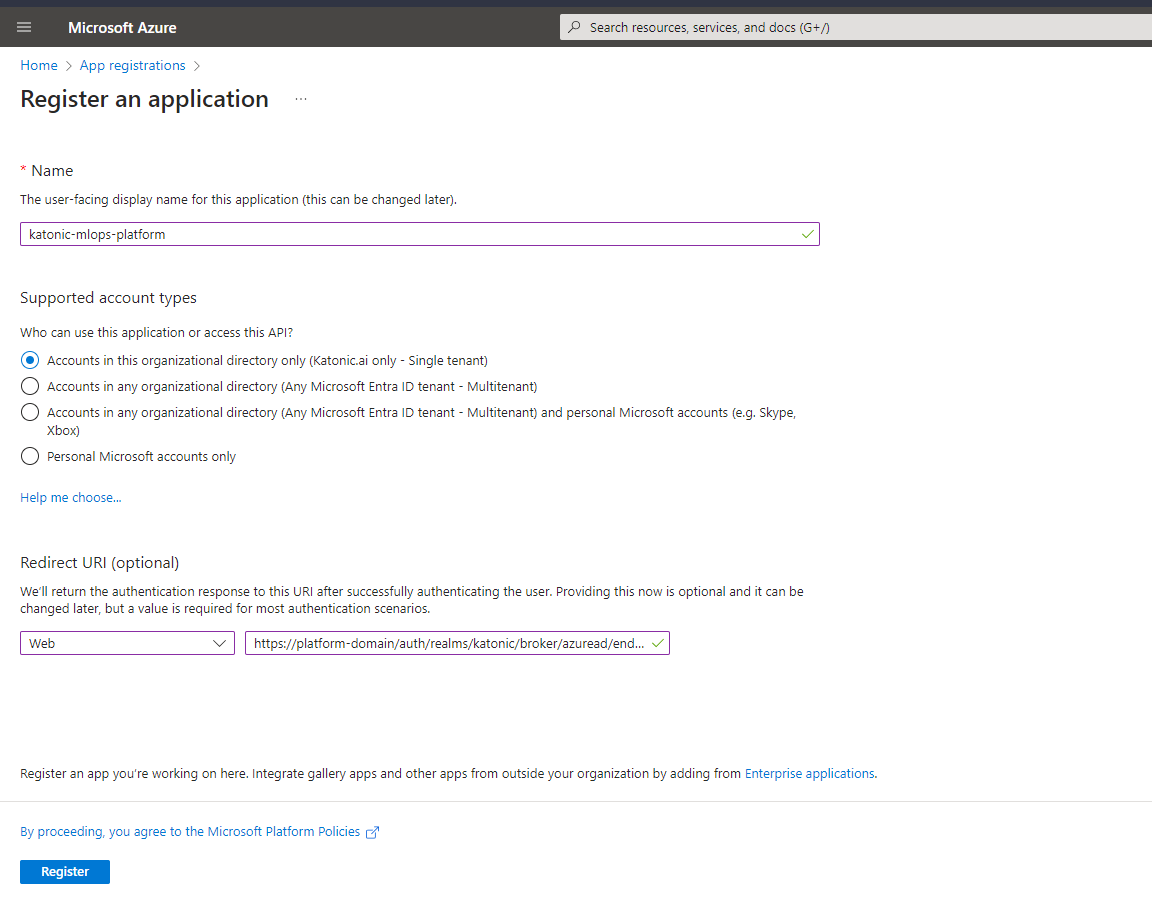
Configure App Registration:
- Set a name for the app.
- Choose "Accounts in this organizational directory only."
- In Redirect URI, select "Web" and enter the following value: https://domain_name/auth/realms/katonic/broker/azuread/endpoint
Note: Replace "domain_name" with the actual domain where your platform is accessible.
Register the App:
- Click on "Register" to create the app. You will see the app details after registration.
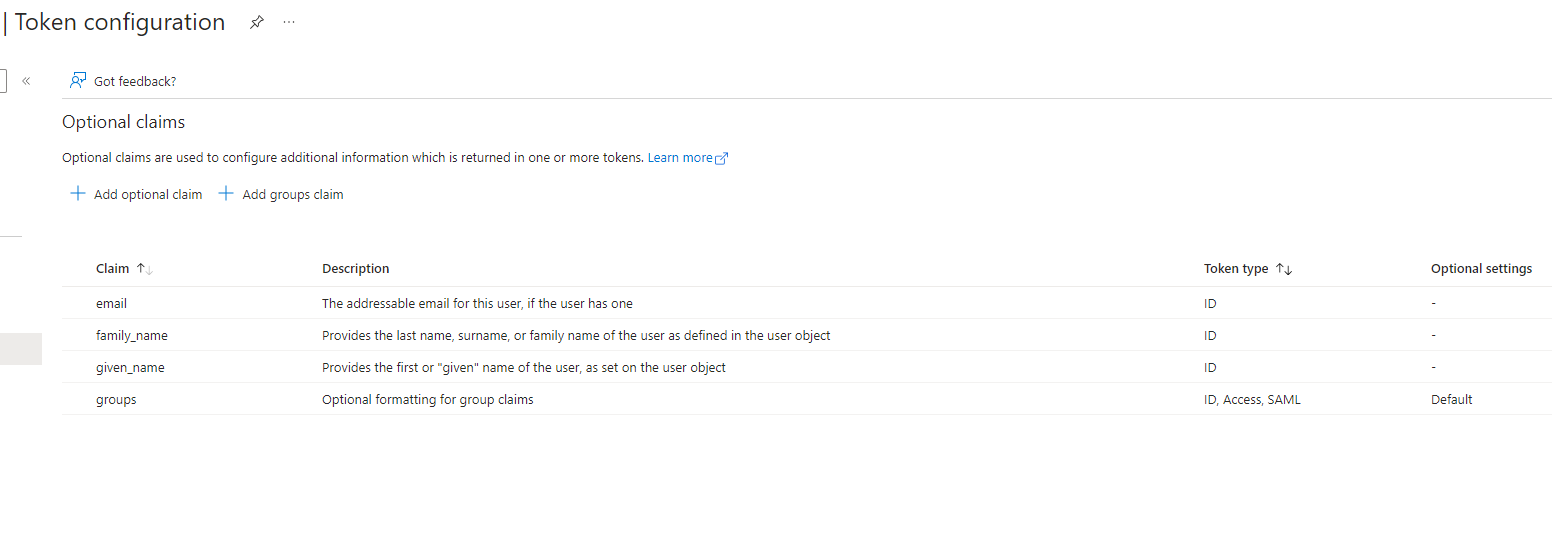
Assign Permissions:
Navigate to the registered app and go to the token configuration section.
Add the following claims:
- family_name
- given_name
- groups
Note: Some claims may require admin consent. Admins can grant these permissions in the "API permissions" section.
Create Client Credentials:
- Generate client credentials within the app.
- Share the following information with Katonic team for integration:
- ClientID
- ClientSecret
- Endpoints for connecting to the app
Note: Ensure that admin consent is granted for the necessary permissions in the "API permissions" section to enable the app to pass required information in the token.
By following these steps, you will successfully set up Azure for SSO and have the necessary details to integrate Azure Active Directory with your platform.